We've had a good deal of snow and cold weather here in Southwestern Ontario of late. Not on the scale of Buffalo, NY, true, but it was cold enough on Friday night to freeze my trombone slide when the band I play in played Christmas carols at the Aylmer Tree Lighting on Friday evening. In keeping with that cold weather theme, a few of us gathered at the Hamilton Road Gaming Group to play a
Disposable Heroes scenario set in what became known as the Battle of the Bulge. Andy laid out the table and served as games-master and general adviser. Bear and Derek ran the German force of mostly motorised Volksgrenadiers with some armour with the objective of taking the crossroads seen in the photo below while I took the role of defender with a platoon of American GI's provided with some extra
oomph by bazooka teams and two Shermans (a Sherman 75 and a Sherman 76.) I was dug in along a tree line with my two tanks arriving/activating a turn or two later. Andy cut some brown felt to designate foxholes and weapons pits. He and I took all of the photos.
 |
| Looking toward the German entry point. The two Tiger tanks were there for size and perspective purposes. |
 |
| Looking toward the US lines. The blue sheet was held up to hid the "Institutional Yellow" of the library walls and to provide some atmospheric feel to the pics. |
 |
| The German-infested forest. I wanted to see how the pines looked in a snow-covered table. These were "after Christmas/Boxing Day" purchases a few years ago. I needed trees and these were on sale at Canadian Tire. |
The game started with two of my squads dug in along the tree line on my end of the board and a third squad thrown forward into the wood on my left. A medium mortar was set up at the rear of my area. It fired every turn and hit absolutely NOTHING! Nada! Nichts! Nitchevo! The platoon command had an M3 halftrack and the two Shermans would activate when the German armour arrived. I also had an HMG team and two bazooka teams added to my crew. The Germans had about 5-6 squads with 2 mortars, an HMG, and a 75mm anti-tank gun as well as two Tiger I tanks, but they arrived piecemeal. Two squads and a recon patrol were on the board at the start of the game. DH hold in-wood visibility to 10", but we increased it to 12" since the woods' foliage was gone due to the winter. Not a big difference all told. Bear advanced cautiously on the German right and Derek came forward on the left. (Those are his troops in the photo above, the recon section on the left and a two section Volksgrenadier squad on the right.) The command sections arrived right off in Kubelwagens and a captured Jeep. My squad in the woods drew first blood by firing on Bear's troops, the BAR taking down one soldier.
 |
| The captured Jeep enters the field. |
 |
My squad advances further into the woods.
I don't know about you, but to me, this board feels COLD! |
 |
"They're out there, Sarge. Can't you hear 'em whistling and shouting?"
I've read that the German infantry advanced while whistling and shouting which helped their morale a lot. The US infantry was ordered to move in silence in order to hear orders, but this silence unnerved the enemy at times. |
 |
| The BAR and the corporal open up in the German point troops. |
 |
One down. For WWII, I've made up casualty chits, printed from the Junior General paper soldier site.
It allows you to remove casualty figures while keeping some sort of visual of the casualties. |
 |
| "Here they come, Sarge!" One of Bear's sections advances into the woods from what we called "the parking lot." |
 |
"The Parking Lot"
The blue yarn string denotes the actual edge of the woods. It helps us know who is and who isn't in cover and just what areas are woods. |
Derek and Bear's troops arrived a truckload a turn with a Tiger arriving on turn #2. My Shermans moved forward as well and began to exchange fire. The Tiger missed me and I bounced a few shots off the armour of the Teutonic behemoth.
 |
| The Tiger advances with the storm just behind. |
 |
| Intimidating, to say the least. |
 |
| Wonder of wonders! After exchanging fire for one or two turns, my Sherman with the 76mm gun blew a track off the Tiger! It was immobilised but still dangerous, as I found out later in the game. |
As Bear and I exchanged fire in the woods, I lost men; his shooting was better than mine. So I fell back slowly until the remnants of the squad broke and ran. Bear moved up almost two squads to the edge of the woods by the time of curfew, but the never engaged my dug in infantry. (We gave foxholes a "medium cover" factor, but that turned out to be too little. On the other side of the road, I lost ¾ of a section and a bazooka team to the German HMG despite the foxholes.)
 |
| GI's dug in at the edge of the woods. |
 |
| Another view of the foxholes. Andy said this reminded him of scenes from "Band of Brothers." |
 |
| Derek had a squad crossing the heavy field. I knew they were there but couldn't target them. So my troops waited. |
 |
| The US HMG dug in in the corner weapons pit. |
 |
| On the other side of the road, GIs dug in waiting for Derek's advance. |
 |
| The German MG42 HMG - a fearsome beast with 8 shot per turn! - hit hard. Three out of four men in the BAR section and a Bazooka team were taken down, leaving the BAR man who picked off an HMG crew member a turn. The Sherman 75 came up shortly after and downed the rest of the HMG crew with its pintle mounted .50 cal. Score one for Ma Deuce! |
 |
| Bear's squads advance past the bodies of the American troops who slowed them down. |
 |
| I've been painting for Bear and we agreed that the German troops I'd paint for him would carry the cuff bands of the Grossdeutschland division. They're there if you look close, but I'm not up to painting the lettering on the cuff title. |
 |
My useless mortar. A great model of Andy's, but utterly useless for me this outing!
We were going to add a +1 to damage for indirect fire into the woods to simulate airbursts in the trees, but it never happened. In a later discussion, it appears that airbursts were not any more effective than a normal explosion.
Can anyone out there help me on this? |
 |
| Bear manoeuvring. |
 |
Late in the game, I turned the .50 cal from the Sherman 75 on Derek's troops disembarking from the trucks.
I did some damage, but you should've seen those guys move! |
 |
My command section which did some fancy commanding and only moved up when Bear's squads approached.
A combat officer's first rule: "If you fire it, you've got to clean it." |
 |
My M3 halftrack prepared to add it's pintle mounted .30 cal to the defensive line in the woods.
This is an old resin-cast model I picked up at Historicon a long time ago. The green bingo chip means the unit has been activated this turn. |
 |
| The Tiger's victim. This is the guy that took out the Tiger's track and a few turns later paid the price with a nasty hull hit that brewed up the tank and took out 4 of the 5 crew. |
The Germans were unable to achieve their objective of taking the crossroads in the allotted time. Most of my dug-in squads and Bazooka crews were not engaged since my one squad in the woods slowed up the Volksgrenadiers' advance. My HMG would have done better service if I had moved it to the other side of the road, although it might have fallen victim to that crack MG42 Bear was pushing around. It wasn't a bad game and it was a good way to spend a rainy, dreary Saturday afternoon.
 |
| GIs dug in at the edge of the crop field. The foxholes look decent and are a geographic feature of the board, meaning if a figure leaves the hole, another can get in. We just have to up grade them a bit. |
 |
| Derek's recon section, who look vaguely Fallshirmjäger-ish. |
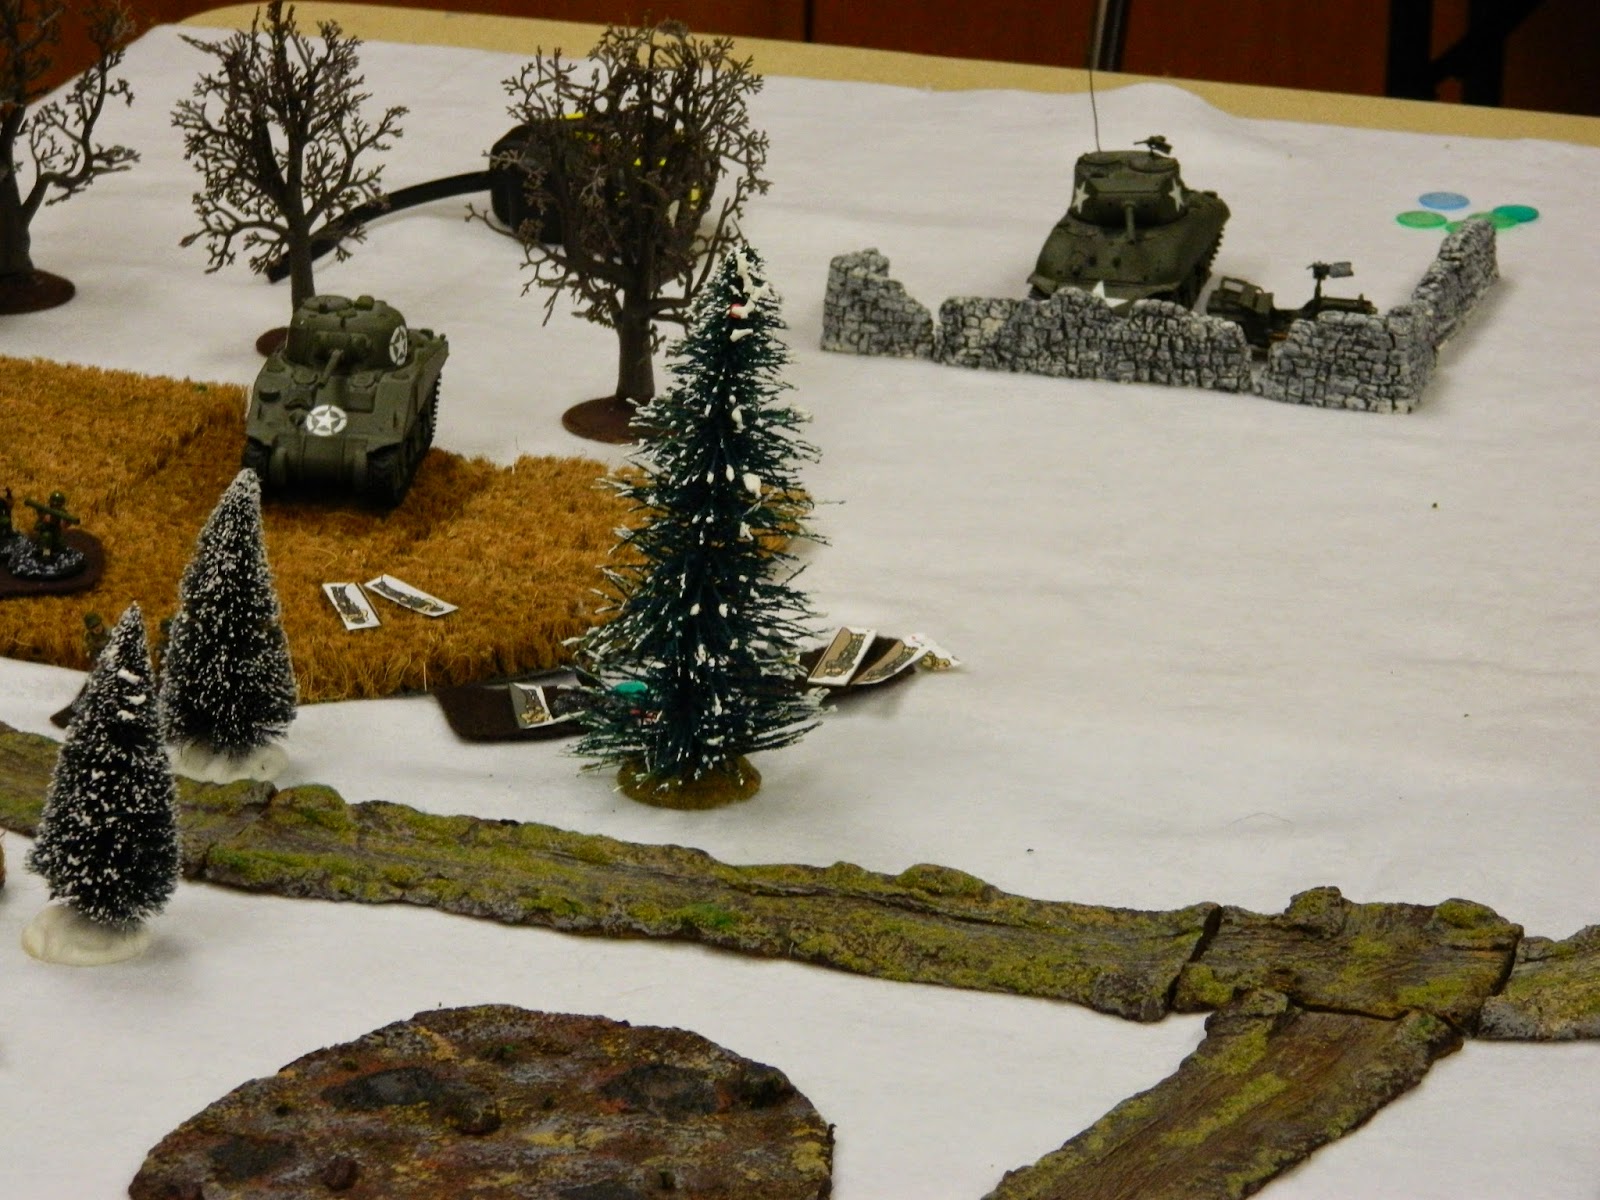 |
| My two Shermans with the 76 hull down in the ruins and the 75 residing in the field. |
 |
Traffic Jam! With the Tiger immobilised, the following vehicles had to turn off to drop their troops.
Here an Opel Blitz gets awfully close to the Tiger. |
At the other table, Wayne and Kevin were working through a WWI trench scenario. Wayne has been fine-tuning this scenario for a while. I think he intends to use it at a convention.
 |
| Germans in the trenches. 20mm figures by Revell. |
 |
| Canadians in the trenches. More 20mm by Revell or Airfix. |
 |
| Wayne's battlefield with the blue backdrop. The green stuff is gas either floating on the wind or skulking in the trenches. Many of the Canadian troops start the game with Ross rifles and can exchange them for Lee-Enfields if and when they run across them. Event cards seem to be used. I've been told the Ross was a good sniper rifle but in general use, it jammed if you looked at it crooked. |
 |
| Canadians searching for the enemy and for Enfields. |
Next week, we hope to do American Civil War in 15mm using Warlord Games' Black Powder rules. I've been itching to try this and Bear dearly loves the period. (When playing it, he changes his name to Beauregard. Two guesses which side he prefers; first guess doesn't count.) In December, it'll be time for our annual Christmas Party and Flying Circus which means hot chocolate and marshmallows, Snoopy and the Red Baron, and Santa flying a supply mission. This year, we add an Italian bomber!

I used to contribute to junior general until my computer systems changed and I couldn't use the paint functions anymore
ReplyDeleteMight I have been using some of your contributions? I enjoy using that site for things like this.
Delete