Wednesday 28 October 2015

It's In The Cards

I must admit that I am not enamoured with card-driven wargames. I've played Maurice and I found it quite "gamey." Somehow I didn't like the idea of being surprised by a large bog that simply appeared in front of my charging cavalry. If you, good reader, like card-driven games, more power to you. I've expressed my opinion.

With much scepticism, I played Studio Tomahawk's French & Indian War skirmish game, Muskets & Tomahawks. Andy purchased the rules and wanted to play them, so I wished to try them as well. I've been quite satisfied with Iron Ivan's This Very Ground for 18th Century skirmish games, although Andy has expressed some problems with it, mainly on the time scale and activities. So we played.


In short, I'm now a fan. The cards were used for determining which units could move and when with the addition of some "occurrences" which may or may not effect the table-top. Each type of troop - regulars, irregulars, natives, militia, civilians - have abilities and numbers of activities allowed each time their card comes up. However, the number of cards for each type is not equal. In the deck (I'm working from memory here, so please pardon mistakes), there are two cards activating the regular units and each unit can do two activities, like fire, load, move, melee. They can only move when their card is turned or when a special card specifically for officers comes up. Irregulars like rangers or light infantry, get one activity each time their card come up, but they have four card in the deck. They also move faster.

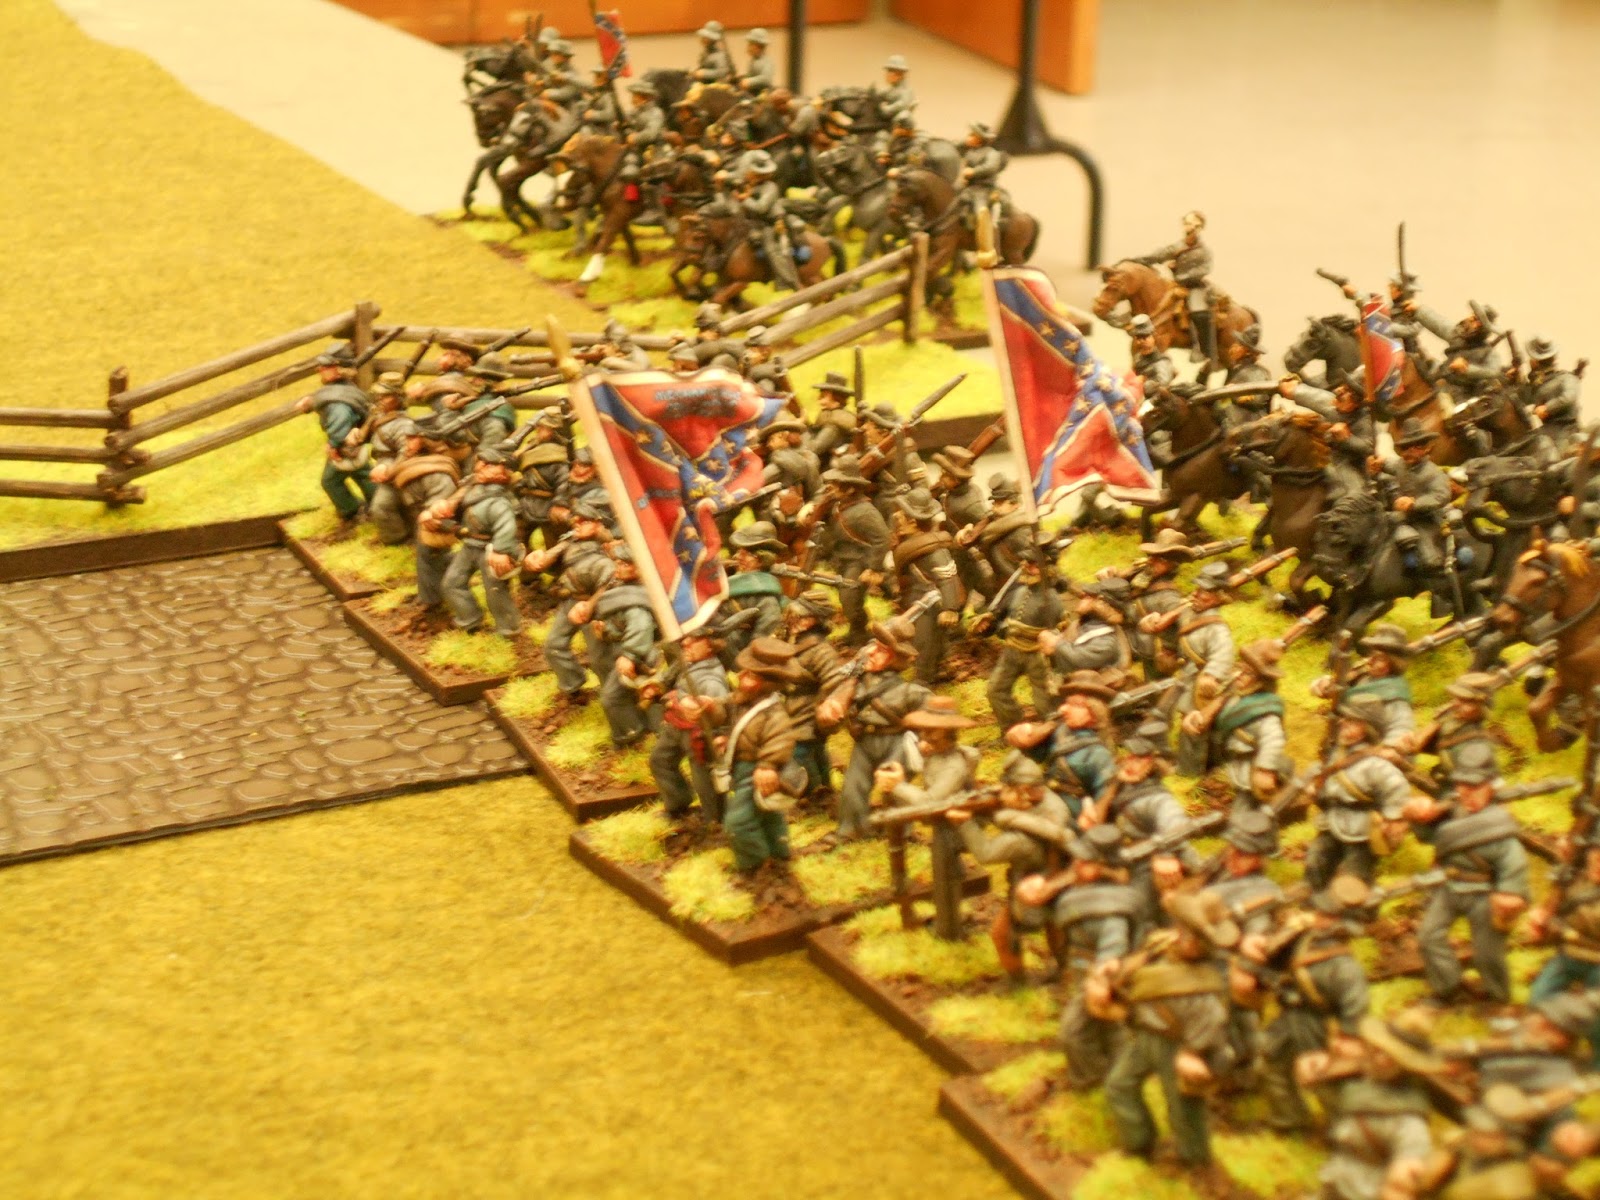
We had a simple attack on an English settlement by French troops and allied First Nations warriors.

The settlement and the fields

The rest of the table.

The British high command - for a skirmish game, that might be as high as a major!

The civilians who were part of my British force.
Andy refereed while Rob and I took the British side while Tyler and Kevin were the French Commanders. Rob was able to make this Saturday gathering of the Hamilton Road Games Group, at least for a while. He had to start work in the middle of the afternoon, but stopped down for a bit now that he live only a few blocks away from the library.

Rob and I both advanced our regulars, elite grenadiers, and light infantry toward the French advance. Our Mohawk party accompanied Rob and the civilians stayed in town to hold the buildings. One of my regular units (12 rank and file with and NCO and one officer) occupied the blockhouse at the edge of town. Kevin and Tyler advanced over the stream and into the line of woods at the edge of the settlement. The fire fight began there.

British regulars cross the plowed field.
All the figures and terrain were from Andy's collection. The fields were either side of the same kind of cloth.

The French-allied Natives come to the edge of the forest.
Another view from Andy's camera

Rob's two sections with his native allies advance.

Tyler's French force including light infantry in red.

Kevin's force moving through the woods.

The light troops made it to the bridge and exchanged fire with my grenadiers.

The two sets of native allies fight while the Grenadier section continues to advance.

... into the teeth of the French light infantry's fire.
Rob was holding his own on the left. My grenadiers and one of my regular sections may have advanced too far and eventually had to fall back on the town in much reduced numbers. 


The French line gives fire. The canoes and their occupants were there for atmosphere and were not really a part of the game.

Rob's civilians occupy a house as a strongpoint.


What was left of the line section - originally 12, one trooper was set off as an officer although he retained his musket and other kit.

The line sergeant and the brevet officer in their final place for the game.

The grenadier took some losses and fell back in good order.

My "ace in the hole" - a section of line troops in the log and stone blockhouse.
The game ended before they could engage in the fight.

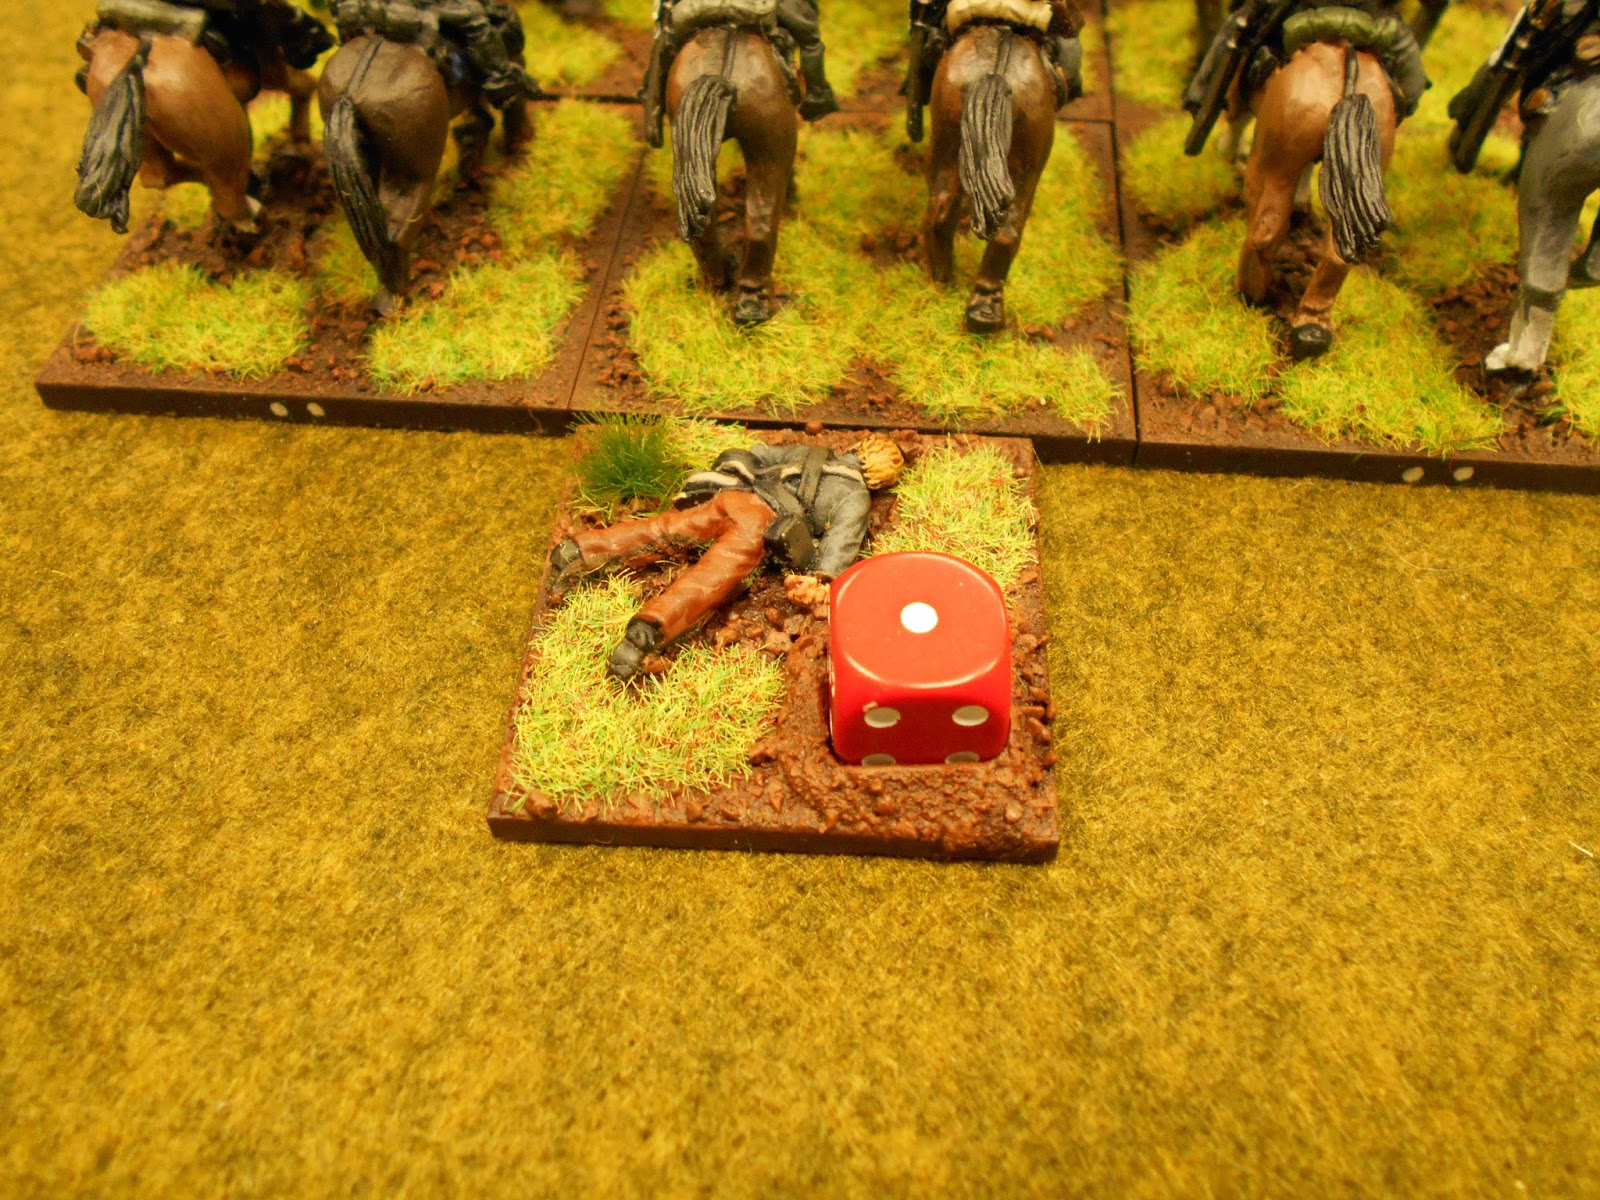
The French continue their advance.
The glass beads indicate how many actions (in this case,2) the sections could perform at this card draw.
You picked them up as you performed an action.

A bird's-eye view of Kevin's French advance.
 
Rob threw back the French's native allies and kept the rest of the French opposing him at arm's length, although he did lose his own native allies and one section of regulars was reduced to two figures.
Tyler's French advancing through the woods.

A view of Rob's British with the NCO to the right and an officer to the left.
Andy supplied all the figures and terrain. Almost all of his figures are RAFM.

The French Light Infantry seemed to like that bridge.

Every unit had a leader representing an NCO or a very junior officer, Quite often a musician was the command representative.

The British Light Infantry - classified as irregulars

 This was our first time to play Muskets & Tomahawks and I don't think it'll be the last. We all found the game quite playable, easy to learn, and fairly realistic. The card draw added tension even though someone who counts cards had a good idea what might be drawn next. We missed a few rules and botched a few things but nothing we can't catch for the next time we play. I'd recommend these rule to you if you wish to play F&I or AWI skirmish. We feel we could adapt these rules for the War of 1812 with minimal change. Layers of complexity can be added by have the game fought in bad weather, with more rough terrain, or using a certain scenario. There are "events" and "side plots" that can be added once you are familiar with the rules.

I actually like these rules better than Iron Ivan's This Very Ground and I like the Iron Ivan product. I feel Disposable Heroes/Coffin for Seven Brothers is a better game than Bolt Action, although I realise that my opinion is only as good as someone else's... and that's a opinion too. Don't let the card intimidate you; try these rules. I don't think you'll be disappointed.

Sunday 25 October 2015

Friday afternoon's SAGA

I get two days off a week. This isn't unusual for many people, however, I can't take Sundays off unless I'm on my holiday. As a pastor, I work Sundays. I'm not really complaining; I knew that this "came with the suit" when I took up the ministry. So I take Friday and Saturday off. So this past Friday, my wife says to me: "Let's get out the dice and figures and play a game." We decided on SAGA since we're both still learning the system.

So out came her Welsh and my Irish. She chose the Welsh because she has a great affection for Arthur and his reign. She holds that Arthur has a strong tie to Wales, and I certainly can't dispute her. She as an Arthurian army for WAB/Hail Caesar and so the figures were readily available in the house. I have some Dark Ages Irish and use some early Saxons as the more well-armoured Gaels. (I had a professor in univerity who held -with a good bit of evidence- that the Dark Ages with the Volkswanderung and the destruction of the Roman civilization in the West never took hold in Ireland. I leave that to greater minds than mine.) {By the way, Volkswanderung sounds like a peaceful vacation excursion rather than its alternate term... "Barbarian Invasion." It sounds like a few Goth came by, knocked on the door and said "Hi! We saw your light on and decided to drop in!"}

Anyway, we chose to go with the standard 6 point game, giving each of us a Warlord, a unit of Hearthguard (4@), three units of Warriors (8@), and two units of Levy (12@). Beth's Warlord and Hearthguard were mounted, and her Levy were bows and slings. All my troops were on foot and armed with javelins, except for the one Warror unit that was wardogs, because... well, because I couldn't resist.

Beth's version of Arthur - a Gripping Beast figure. Behind him are various warriors.
A close-up of some of Beth's Welsh warriors.
A more abstract Auxilia shield and the famous "Fox Boys"

Faction dice, Irish in brown and Welsh in yellow.
Birdies, snakes and elk for the Irish and Dragons, Celtic Crosses, and Celtic trefoils for the Welsh.

I won the initiative and deployed and moved first. It was a straight heads-down attack led by the wardogs who hit a Welsh levy unit and pushed them back. I was also able to grab some harder cover with a small homestead on my right.

The Wardogs pose for a photo. I think the dogs are Gripping Beast while their handler is from Mithril Miniatures LOTR range. He is listed as Beorn in human form. I've always liked the figure as well as his bear-form counterpart.

Sic 'em, puppies! The Wardogs take on the Welsh levy.
A unit of my Bonnachts (Warriors) occupy the farmstead.

Their opposition - one of Beth's Warrior units

My javelin armed Kern/Levy face more of the Welsh Warriors.

The Hearthguard and Warlord begin their ride into history.

Beth's Levy fell back but had given the Wardogs casualties.
The red bingo chip indicates a "fatigue" on the unit.
My Kern had exchanged javelins with Beth's warriors who fell back to leave the heavy lifting to the Hearthguard and the Warlord. It wasn't pretty for me.

The Hearthguard are a mix of Gripping Beast and Old Glory Arthurians/Late Romans.
My Kern are Old Glory figures.

The slaughter from Beth's perspective.

And again.

After disposing of the Kern, the mounted Hearthguard (less one... Hurrah, me!) wheeled left to take on more hapless Irishmen.
So Beth caved in my left, shattered my centre, and demonstrated on my right where one unit of Warriors and one of Kern/Levy held on. My Hearthguard attacked her's with my Warlord and a handful of warriors, but they were driven back, When her Hearthguard and Warlord wheeled left, the handwriting was on the wall. Shortly after that, her Hearthguard killed my Warlord and that was the end. 

Through later discussions, it appears I wasted my Wardogs and would have been better served by holding them in reserve until a melee started somewhere nearby. Since they move as mounted troops and ignore difficult terrain, the Wardogs could fly through stuff and add a nasty attack to an on-going melee. Maybe arming my Kern with slings would help too, doubling their missile range. The next game will see,

Welsh archers

The Hearthguards engage in a spirited discussion of politics... with swords and spears.

My Hearthguard, Warlord, and a few Warriors fall back.

The end of the game from the Goodyear blimp.

... and from a slightly closer angle.


Monday 19 October 2015

ACW, Black Powder, and a playtest

This past Saturday at the Hamilton Road Games Group, a group of us played an American Civil War game using the Black Powder rules. We'd used them before with 15mm figures and found them to work well. This time, however, we used 28mm figures and got quite a spectacle. Ralph was planning a large game for one of the big convention in the States and needed to play test it. That sort of thing was right up our alley at the Games Group. Martin, Andy, Kevin, Bear, and I all jumped in. Brian came and served as war correspondent for Harper's Weekly, that is, he kibbitzed.

Each player handled about a brigade. I had two Confederate infantry regiments and two Confederate cavalry regiments of 28 and 12 figures in the different types. (Photos are by Martin, Andy, and myself.)
From the left clockwise: Andy, Kevin, Bear, Ralph, and your humble blogger. Martin took the photo.

My brigade of Confederates, eager for the fight... almost.

After determining initiative, the Rebels moved first. I rolled my command roll and the entire brigade went to sleep! I failed the roll and couldn't move anything. Martin, who had skirmishers ("pickets") moved forward quickly to take a small woods, a house, and a church on our end of the battlefield. Ralph moved forward, but also realised that his infantry had masked his guns! In Black Powder, artillery can fire over intervening troops only if the firer or the target are on a higher elevation, howitzers and mortars being the exceptions. Bear hadn't arrived yet so his brigade sat idle, as did Kevin's Federals, just to make things fair.

Another view of my sleeping Rebs.
Ralph's pickets ran up to the fence line just opposite Andy's lines. They didn't stay long and, after firing a few shots, fell back after Andy's men charged over the rail fence. They fell back to the rail fence that had been their starting point.


Andy's brigade including a Zouave regiment rated as "Veteran", which translates to "Steady" in Black Powder-ese.

Ralph's Confederate pickets.

Here you see the confrontation. The outcome is obvious.

The corner of Martin's pickets, who had occupied the house in front of my troops.

As the pickets fell back, Ralph had his unit of VMI (Virginia Military Institute) cadets hop the fence to un-mask his guns.
However the pickets also masked the cannon and all the gun ended up shooting on the oblique.
When Bear arrived, he and Kevin began to manoeuvre a bit, but for some time, it didn't amount to much. Then they got into it and fur began to fly.

Bear's troops come forward toward the settlement and the small hill.
A more aerial view of that end of the battle.

On my end, I decided to continue to exchange fire with Martin's Federals... once I got my units to rouse. Just to "see how the monster works", I charged one of Martin's regiments, his Zouaves, with one of my cavalry units. Make no mistake, this was not a good idea. They never made contact and melted away from the closing fire. Actually I should say they took casualties and has to take a break test, which they failed. So they broke and left the field.

The cavalry attempt to charge home, to no avail.

A view of Martin's Zouave unit, part of Ralph's collection. (as were all the figures.)

A better view of the Zouave regiment... with Andy checking rules in the background.
The post action photo with the cavalry gone away.
Soon after this, we decided to check the status of the brigades. I had lost one regiment of cavalry and two of my infantry regiments was shaken (that, is they had taken at least as many casualties as their "stamina" characteristic.) So my brigade was broken and had to withdraw. The cavalry got off the field in one move and the infantry fell back, but not off the board.

The beginning of the withdrawal being contested by Union troops.

"Y'all fall back to heah, boys!"
The brigadier shows where the infantry would have fallen back to had I actually moved them.

The game was interesting because it allowed Ralph to fine tune his game for the convention. I also tried to see if cavalry could frontally assault infantry, and the answer was "no!" I was also able to use my brigadier to rally a unit that had taken casualties up to its stamina point; I'd never done that before and I don't know if anyone else in our group had either.
I found Ralph's system for marking casualties to be a good one and one that doesn't detract from the "look" of the game. He mounted a casualty figure on a base and make a sort of cradle/slot/case for a small die. When the unit took a casualty, you simply put out the casualty base with a "1" showing on the the die. When further casualties were taken, you simply turned the die to the appropriate number.

See? I like the idea but I'm not sure I have the patience and the finances to get, paint, and use a whole slew of casualty figs.

Another view of a casualty counter in the town battle.

One of Ralph's regiments with the casualty appended to the far flank.

Ralph's USA command stand which was worth a photo by itself.
The flag is for a Minnesota regiment, so I can guess the colonel's name.
Andy's crew at the rail fence.

A long view of the table at the end of the day.
Ralph's crew at HIS rail fence.

My two cavalry units in better days.
Yes, the Fenian in the bog was just there for fun... or as a sign of "things to come."

The infantry and the cavalry exchanged fire for a time.
Bear and Kevin's battle... 'way down the other end of the table!
Not a bad outing all told. Helped a friend play-test a scenario, tried a few new things, got to use someone else's figures. ("Why are you charging the infantry?" "It's not MY army!") Not bad at all.