Showing posts with label table top gaming. Show all posts

Sunday, 7 February 2016

Muskets & Tomahawks & Heroes -- Such is the life of a toy soldier

Most of the Hamilton Road Games Group's gathering on Saturday was dedicated to a game of Studio Tomahawk's Muskets & Tomahawks, a French & Indian War skirmish game. The mechanics of the game are rather simple; what makes the difference is the card-driven sequence of play. The deck of cards controls when certain classes of unit can move. (i.e. regulars, irregulars, provincials, Indians, civilians, militia, etc.) Ralph, Steven, and Mark ran the French, Habitants, and Indians, while Andy, Bear, and I ran the British and British Colonial forces. On another table, Kevin and Martin play-tested a Naval Thunder game (early to mid-20th Century naval rules) they intend to use at an upcoming convention.

(All photos courtesy of Andy, Ralph, and my own camera.)

Big table with the game already in progress.
Bear to the left, Andy on the far end, Martin, Ralph, Steven, and Mark's hands to the right.

Mark's Canadian irregulars* face my American Rangers.
He had already dispatched a second small group of rangers and was whittling this group down.
(* Compagnie Franche de Marine)

Andy's British irregulars/light infantry on the other end of the table.
They were opposed by Ralph's Huron war-party.

Two sections of British regulars under my command.
The light green is open country, the darker green is light woods, and the real dark stuff under the trees is dense woods.
All of those effect spotting, movement, and musketry.
There was no need to randomly decide who would move first; the shuffled deck of unit cards saw to that. Both sides moved to toward the centre of the table with the regulars on both sides moving up to a fence line and exchanging fire. My rangers attempted a flank move through the deep woods. I had fielded them in to 6-man sections with a ranger officer in charge, while Mark ran his irregulars was one 12-man patrol with an attached officer. My dice were ice-cold and I lost the first section of rangers in short order. The second section exchanged fire with the Compagnie Franche troops and were destroyed without causing a casualty after a brief fire fight.the regulars on both sides exchanged fore until my two squads had to "recoil" and fall back a move from the fence line. They came back soon and did better (oddly enough after we had all eaten lunch. We either brought our own bag lunches or as some did, go over to the laundromat across the street for hot sandwiches. Yes, the laundromat has a sandwich kitchen in the back! And it's good! Not quite as good, in my opinion, as the Polish deli that used to be next door and is now closed. Now, THAT was a dynamite place to get a sandwich!)

Andy and Ralph chased each other through the woods on the far end of the table while Mark crushed my rangers. Bear and I kept up the fire against Mark and Steven, but with Mark's irregulars beginning to turn my right flank, I decided to withdraw. Bear manfully stood against the Hurons that came against his left flank and refused to leave. My ranger officer sniped at Mark's Compagnie Franche and cause a casualty - actually causing more damage than my two sections of rangers! Mark and I shook hands on that one.
Because of a random events card that came up, Andy's light infantry officer was declared a "Hero" with semi-god-like abilities or with a targeting laser or with fiery breath. I don't remember exactly what but it was a good thing... until a Huron sniper under Ralph's command did him in. The game ended in a resounding French victory. Steven's regulars suffered a number of hits from Bear's musketry but he captured the farm houses and the cattle.

Ralph's Hurons skirt the pond as they move to flank the British regulars.

They seem to be milling aimlessly, but there is method to their madness.

Mark's' French regulars move to take up a position at the fence line on the photo's left.
These are from Andy's extensive collection of F&I figures.
 
Half of my ranger section fire on the French irregulars.
All these figures are from my own collection.

Steven' s regulars, which he kept in a more open formation. They didn't get the extra punch of the closed "firing line" but they didn't suffer from being a "large target" which is what a firing line is considered to be.

Préparez-vous! Présent! Feu!

The Hurons move through the woods.
"Wit' one hand tied behind me back!"
My ranger officer makes a futile attempt to hold back the flanking maneuvre of the Compagnie Franche.
*Sigh*    Such is the life of a toy soldier!

They keep coming on!

The French irregulars eventually took of a position at the rail fence to fire into the flank of the British regulars.
Despite the flanking fire and casualties, my regulars held firm. My dice had warmed up a bit after lunch.
My officer charged the French officer (at Andy's urging) and was killed handily.
The centre of the table as the French advanced.

Another view of Steven's infantry

My ill-fated rangers put up a brave front before the French irregulars.

Andy's British light infantry attempt to hold back the Huron advance. Lots of musket smoke!

Bear's regulars hammer the French with musketry.

Mark's troops are almost in place at the fence.

At the end of the game, one of Steven's squads turned the corner to fire across the field at the light infantry.

Meanwhile, Mark's regulars hopped the fence to move toward my redcoats.

Early in the game, Bear's regulars move into harm's way.

Action in the deep woods.
Again, early in the game, the light infantry take on the Huron.
Most of the figures and all of the terrain were from Andy's collection. I was able to command my own figures. When the game was over, we discussed certain house rules and update variants that caused some confusion in the game at times, and we hammered them out to what appears to be everyone's satisfaction. Once again, my dice were cold for a long time. I'm going to have to immerse them in salsa or something like that for a while.

Next, Martin and I intend to have a game of Pike & Shotte using his French and my Swedes, opponents who should be used to each other my now. In two weeks, we've invited another informal games group to the library for a big ACW games. Big. I mean really big... like the Hail Caesar! game we had last week. (See the previous blog entry.)

Tuesday, 2 February 2016

Morituri te salutant!

 "We who are about to die salute you!"

Yeah, that sounds about right. Anyway...

This past Saturday, the Hamilton Road Games Group played Warlord Games Hail Caesar! rule for "ancient" period wargames. We've played this game's sibling games, Black Powder and Pike & Shotte, and I've played (and still enjoy) GW's Warmaster, a game I feel is the "master matrix" for the others. They're all from the gaming mind of Rick Priestly, and I for one commend him for them. The games vary widely but have similar mechanics of play and so are familiar in style. We'd been wanting to play Hail Caesar! for a while, but had to wait until Ralph got his schedule cleared to play on a Saturday. He and Andy provided all the troops - Romans everywhere! This allowed similar armies to face each other without having to allow for the variations that would come from pike-armed units, horse archers, or wild barbarian armies. We saw legionaries, auxilia armed with spears or with bows, skirmishers with bows or slings, auxilia cavalry, Numidian cavalry, and Germanic horsemen, as well as period artillery, dromidarii, and elephants. The table was huge and it accommodated 10 players. IT WAS GLORIOUS!

Looking North with Steven, Martin, your humble blogger, and Ralph ("Ralphus Magnus")

Looking South as Andreus Germanicus Photographus does his stuff.

Some Romans on the one side. Since it was a Roman Civil War scenario (oh, there were so few of those!), I can't say which side was evil... or good. 
I ended up commanding the far, far right flank of Ralph's side with two units of spear-armed auxilia, one of auxilia bowmen, a handful of skirmishers with slings, some auxilia cavalry, and a Numidian light cavalry unit. When Bear arrived, I turned the cavalry over to him. Martin was too my left with Legionary infantry. Ralph was next with more Legionaries and some auxilia. Mark was next with infantry and cavalry. Duane held the far left with cavalry, camels, and an elephant. I was facing Steven with his legionaries, auxilia cavalry, and German light horse. Mark's friend, Dave was to Steven's right with a mixed force. Andy, Chase, and Kevin were the next, and their troops mirrored our side's with the exception of the dromidarii. Those nasty camels never moved for the entire game!

"Just call me 'Stampy'! "An elephant from Andy's collection.

My wing commander, Dingelus Gleutius Maximus. He's from my collection.

A unit of Andy's auxilia - Old Glory, I think.

A Corhortes Auxilia from my collection - Gripping Beast Miniatures

My other cohort of auxilia - Black Tree Design

Ralph's mobile artillery - the Sturmgeschutz of its day.
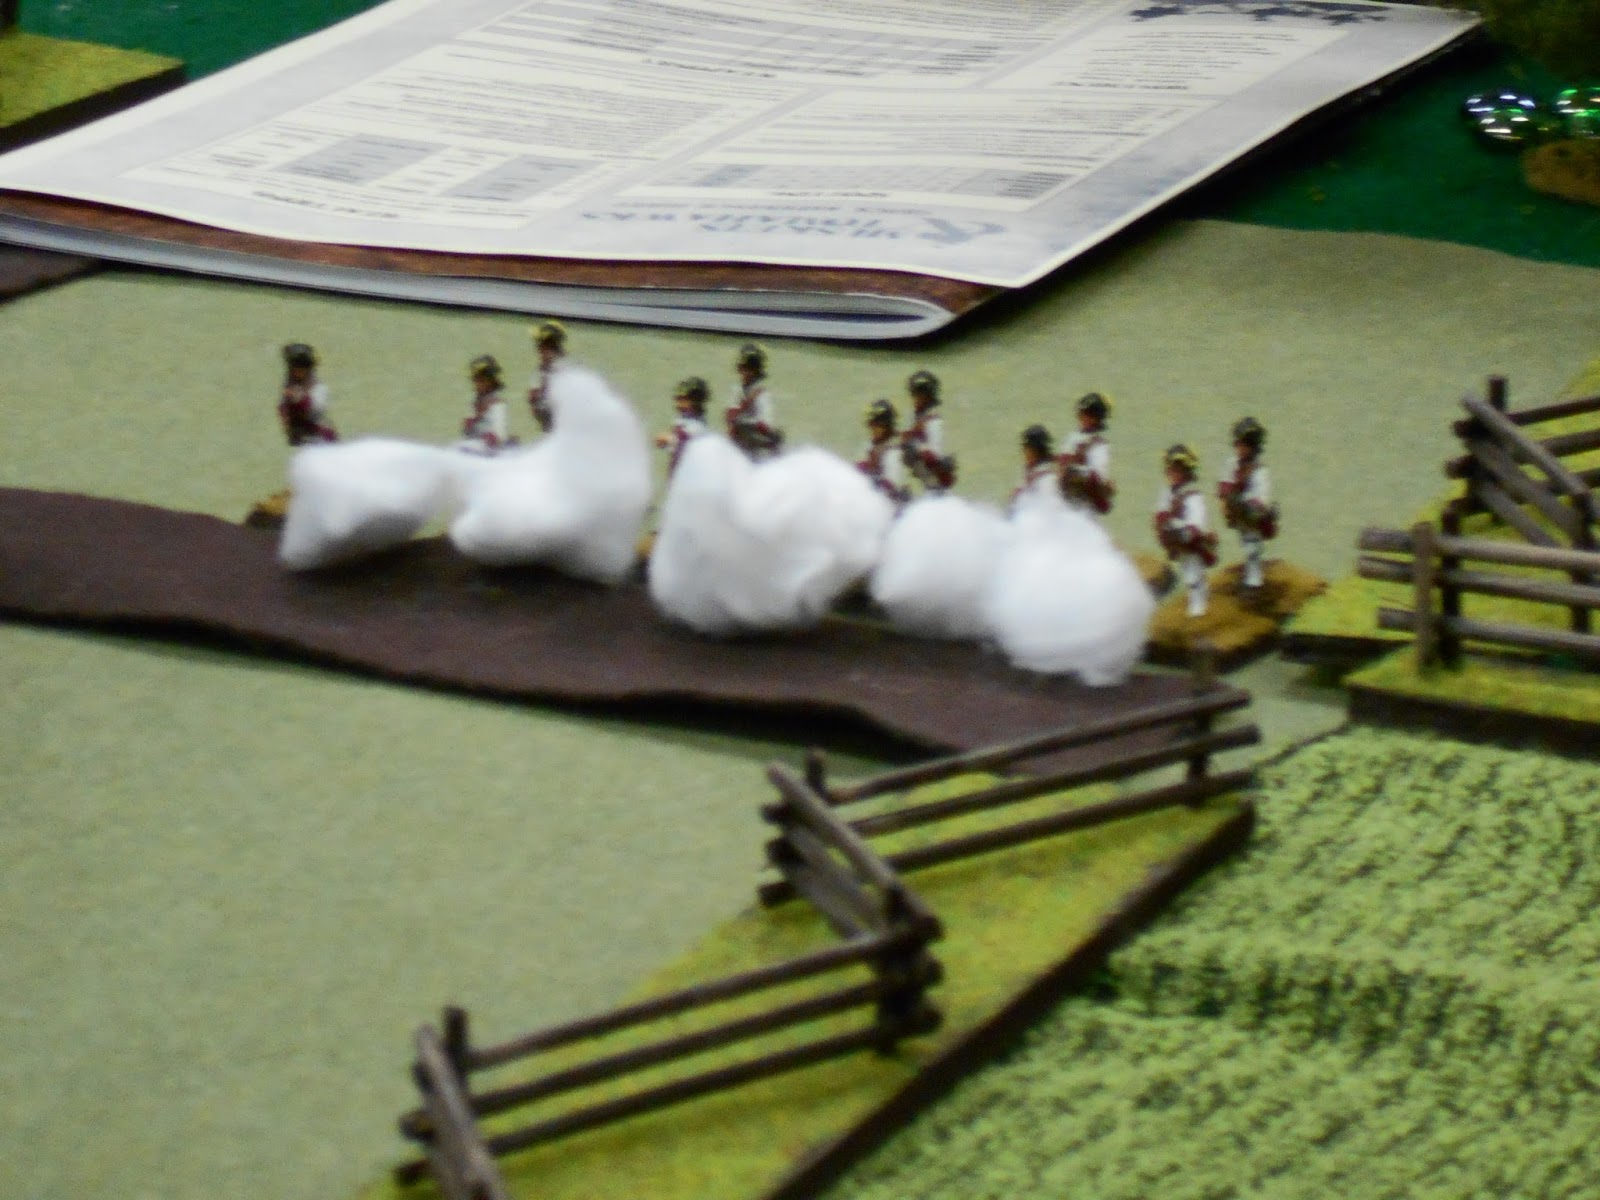
Our side won the toss and we attempted to move forward to meet the enemy. I ended up being the most aggressive of our side, something I'm not noted for. My foot troop pushed forward while the cavalry failed their command and sat still for the first turn. I was not hung out to dry since Martin's troops moved up as well; I was just a bit ahead of him. The usual failures of command went up and down both sides. This time, though, some blunders came up. (If you roll double sixes -"box-cars" - your troops blunder and can really make a mess of things.) Martin's one unit of archers fell back precipitously after blundering. I also heard groans from further down the table, but it was a long way off and I was never sure what was happening. I had my hands full with my own troubles.

Bear faced the Roman cavalry, the Germans, and an elephant, but could only hold them for a while. His Roman cavalry countercharged Steven's but got the short end of the stick and broke. I faced Steven and Dave's legionaries with my auxilia and the legionaries use of the pilum made a big difference.

Martin's legionary cohorts with auxilia archers in the lead.

Steven's cavalry with Stampy the Elephant.

Bear's Romans and Numidians

Kevin's cavalry and elephant face down Duane's horsemen at the other end of the table.

Slingers and a light bolt-thrower, which Martin faced.

These legionaries mousetrapped me and messed up my auxilia cohortes.
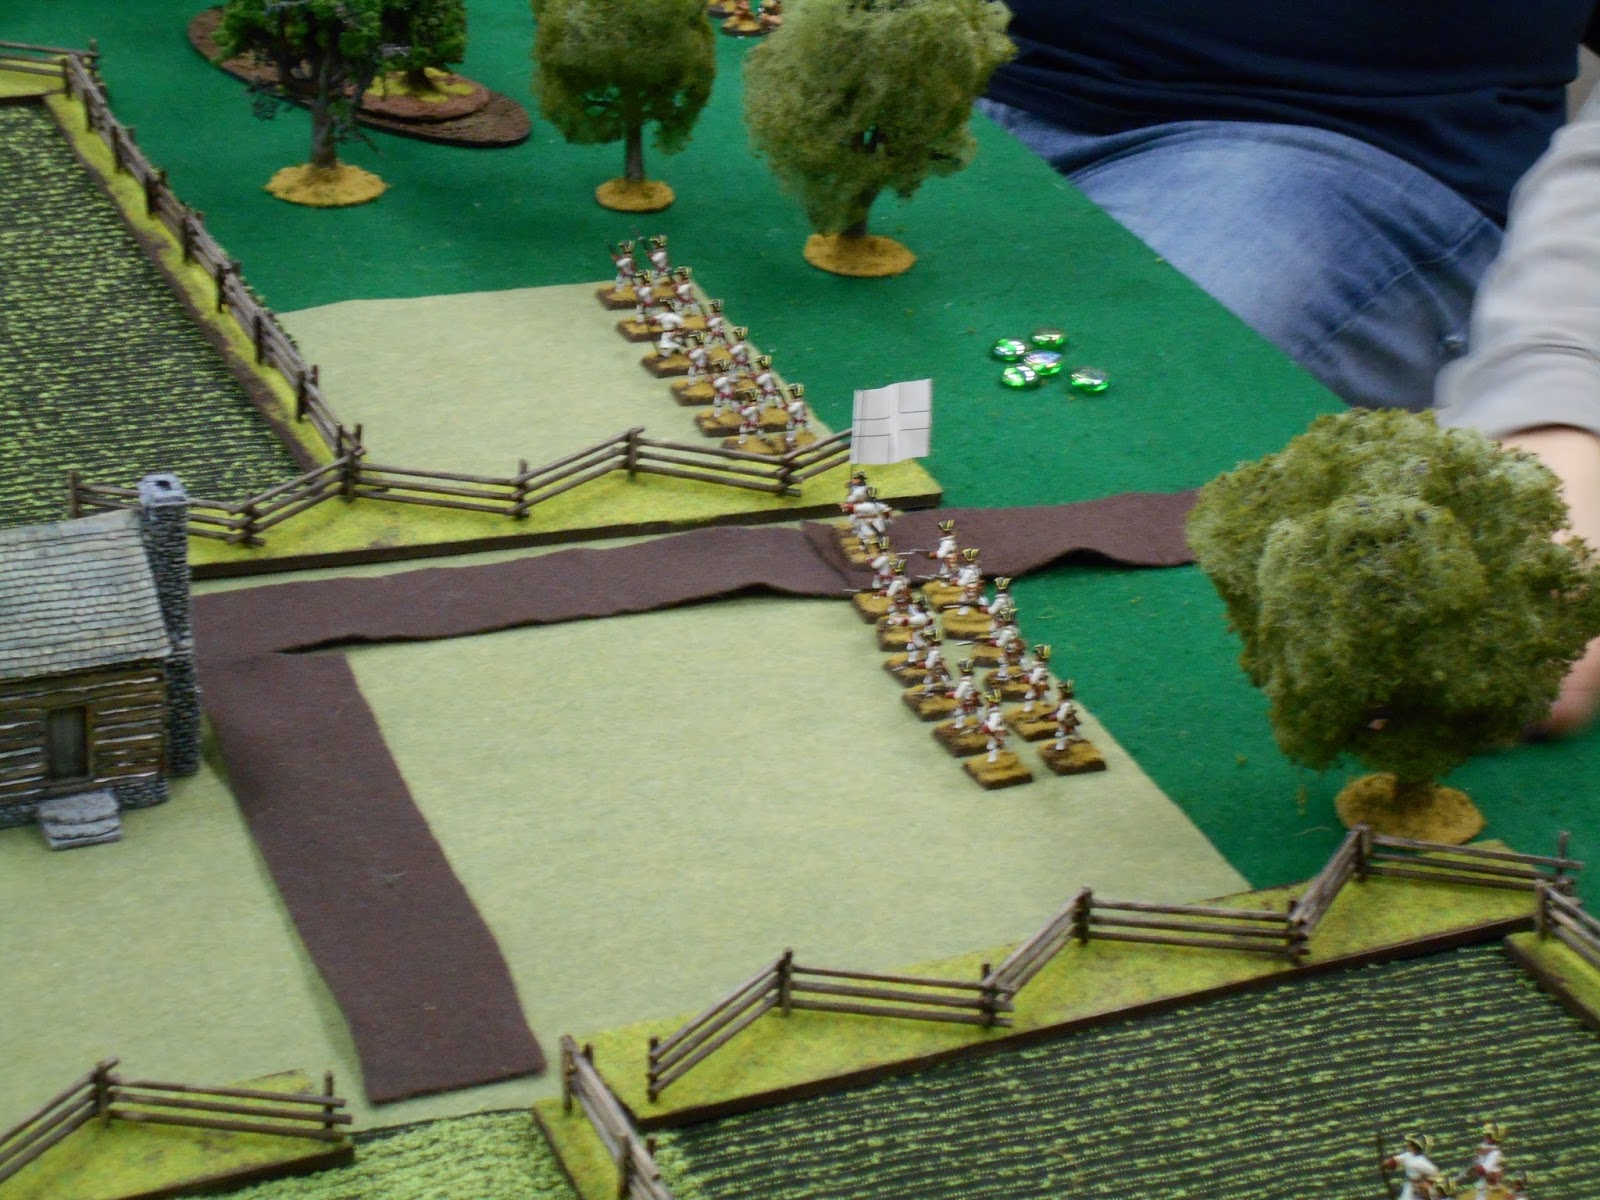
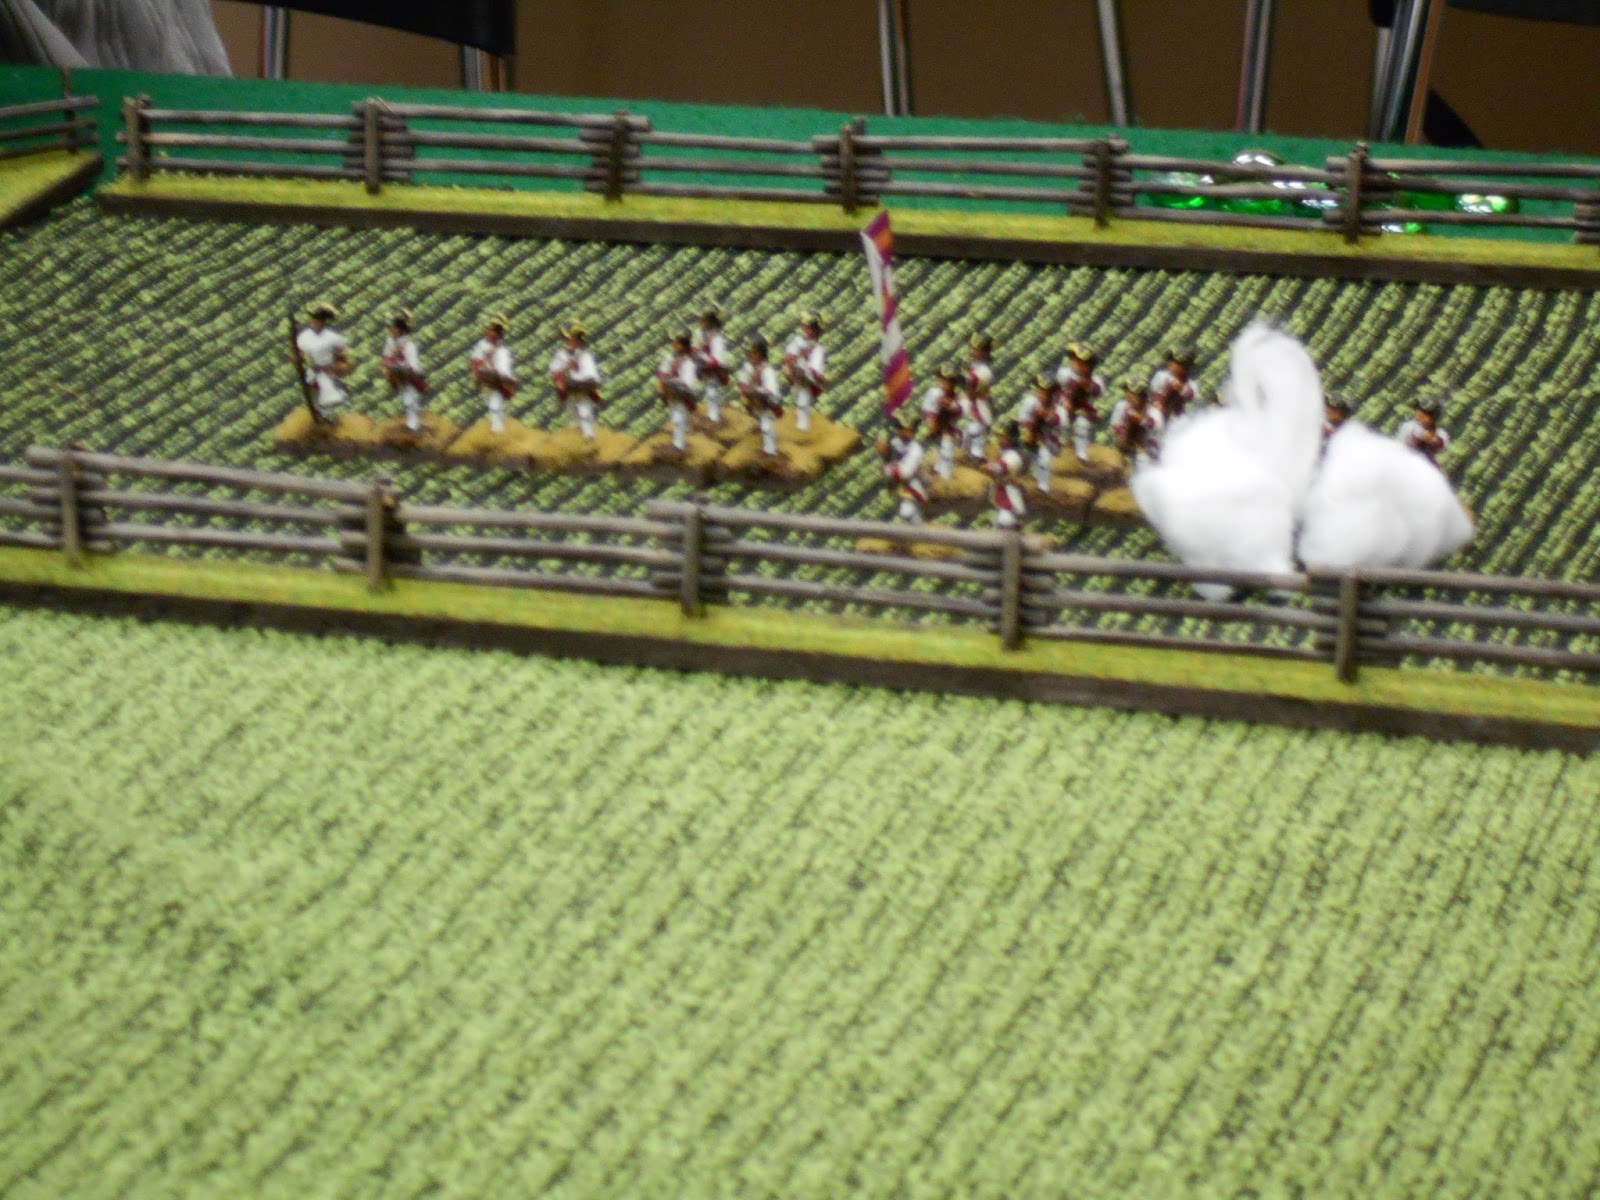
With my bow-armed auxilia gone, I was left with two cohortes of spear-armed auxilia who were about to be flanked by Dave's legionaries. My one unit was hit in the flank and fell back. My other unit, the blue-shielded one, turned to face the legionaries which exposed their flank to Steven's legionaries. It was not a good situation for me at all. I was pretty much done in. Martin sent two cohortes of legionary infantry to assist me, but it was too late. Curfew fell and clean-up began. Both sides found their left flanks crumbling, but our centre seemed to be doing well and was advancing toward the enemy.

The legion's infantry hammers my auxilia.

Martin details Cohort I of the army to assist me.

Steven's skirmishing bowmen snipe at my auxilia.

Martin's cohorts take on Dave's legionaries.

Meanwhile, Dave and Andy's troops close the door on another of Martin's infantry units.
I suppose we'd call the game a draw or possibly a wining draw for the side I played on. The one thing I'm sure of is that I was soundly thrashed. I know things didn't go well for others. Kevin had a unit of cavalry leave the table on a blunder, although it returned later. Andy couldn't get his dice to cooperate for love or money, and I hear word not found in the Bible at one point. Another blunder saw Martin's ball cap fly across the room. These things are to be expected.

Hail Caesar! has some subtle differences when compared to the other Warlord games. Units can take more punishment, but break tests come up more often and often at uncomfortable times. (like whenever a 6 is thrown in missile fire.) The command-and-control system can be as frustrating as it is in the other games. I don't mind that too much. Truth to tell, we got a lot further along in this game using Hail Caesar! then we ever could with Warhammer Ancient Battles. I am sold on this game and I'm busily flocking my rebased Gauls... although I realise that I'm probably outnumbered by all these Romans. Still I look forward to fielding my Celts; they will be sooooo colourful!


I've got Romans to rebase as well, but they don't have the anti-Dacian Falx arm pieces these guys do.

A mixed bag of archers - all auxilia, but some Western and some Eastern.

The far-left of our line - which I knew very little about. Mark and Chase were duking it out.

Kevin's cavalry and Elephant. Somehow I don't think he did all that well... through no fault of his own.

Next week, a bout of Muskets & Tomahawks, a French & Indian War game, is scheduled.

Sunday, 24 January 2016

I'm still not Frederick

This past Saturday, a reduced contingent of the Hamilton Road Gaming Group used Black Powder yet again to play a Seven Years War game. Bear had to be elsewhere. This time Andy fielded his Prussians with the assistance of Martin as his left flank commander. Kevin and I rolled out the Russians. (Three brigades of line musketeers, one of grenadiers with one musketeer regiment, a heavy cavalry brigade of cuirassiers, dragoons, and horse grenadiers, and a light cavalry brigade of hussars and Cossacks. Add to that 5 cannon and one howitzer.) This always makes for an interesting game, although Kevin's dice were exceptionally cold. Mine were moderately warm up until the end, when they turned frosty.

Kevin's brigades in column. That way they could move even if their generals failed command.
The rules require the Russians to have at least one "idiot general".
I couldn't saddle Kevin with such a numb-skull so I took him.

Martin and Andy deployed their Prussians in line because the entire infantry is "superbly drilled" and will make at least one move even if their command fails. No idiot generals on the board for the Prussians!

Andy's wing with the heavy cavalry and a horse gun.

My wing of the Tsar's Finest after a turn or two.
Kevin and I got the initiative and stepped off quickly. We were all pretty far away from each other and, as I should've guessed, the Prussians didn't advance very far, waiting for the Russians to advance into the teeth of their musketry. We did our best to keep our solid line intact, but the Berliners wouldn't come out to play. Kevin tried an end run with his hussars and Cossacks which Martin met with his hussars. Kevin came out the poorer on that account. I tried to bring my cuirassiers around the left flank forest but they stalled out after Andy disorganised the lead regiment with artillery fire. The dragoons/horse grenadiers refused order for a brief time but came forward after a bit to guard the left flank of my one infantry brigade.

Three regiments of Russian cuirassiers. A real general could do a lot with them!

Our over-all commander, his flag bearer, and Cossack aide.
I believe I'm going to try to put all my commanders on round bases; It makes them distinctive and easy to spot on the table.

My grenadiers in column. They were originally based for Koenigkrieg - three bases of 4 per battalion, so for Black Powder, I simply strap two battalions together - which leads to a multiplication of flags. I don't mind that since it adds to the colourful look of the table for both SYW, Napoleonics, and ACW.

Our brave and dire opponents, the Prussians.

Martin adjusts one of his regiments. These figures are just SO colourful and pleasing to the eye.

Kevin's infantry battalion. Note the Cossack cannon crew on the far left and the Pandour regiment in line next to them.

A close-up of one of my lines. I'm still proud of my flags.

Andy broke a grenadier unit into skirmish order to move through a forested area. We've found some basis for this in the rules and we permit it when an infantry or dismounted cavalry unit moves into a wooded area, but only when moving through the wooded area. They can't do this in open country.

The Russian "Death Chicken" flags advance toward the Prussians and their Black Eagle flags.
Well, things didn't go so well for Kevin and I after that. My cuirassiers finally rounded the forest and took on Andy's kurassiers and dragoons. One of my regiments fell back as did one of Andy's to the flank attack was not a success. The Prussian infantry began to advance slowly, with both the Russians and the Prussians losing a regiment each to artillery and musketry. The Prussian hussars were both shaken which didn't permit them to do much of anything. The Russian hussars and Cossacks had broken and left the table. It was getting on to closing time at the library so we "extrapolated" the ending, the Prussians giving the Russians the "Golden Highway" to retreat to Brest-Litovsk.

I again forgot my resolution to use the oblique order with my SYW army. Looking back with 20-20 hindsight, I should've guessed that Martin and Andy would play the "waiting game" until something cracked. Ah, well.

Andy's flank force of kurassiers and dragoons.

My Russian cuirassiers round the spur of the forest.
Martin and Kevin's light cavalry mix it up on the far right flank.
 
Martin's hussars came out on top and sent the Russians packing.

An impressive array of Russian infantry.